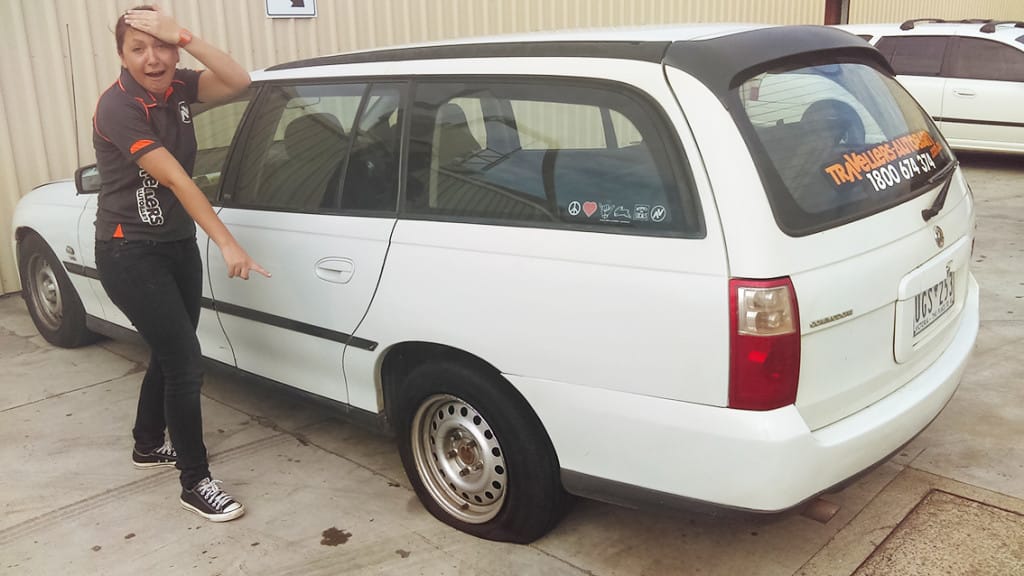
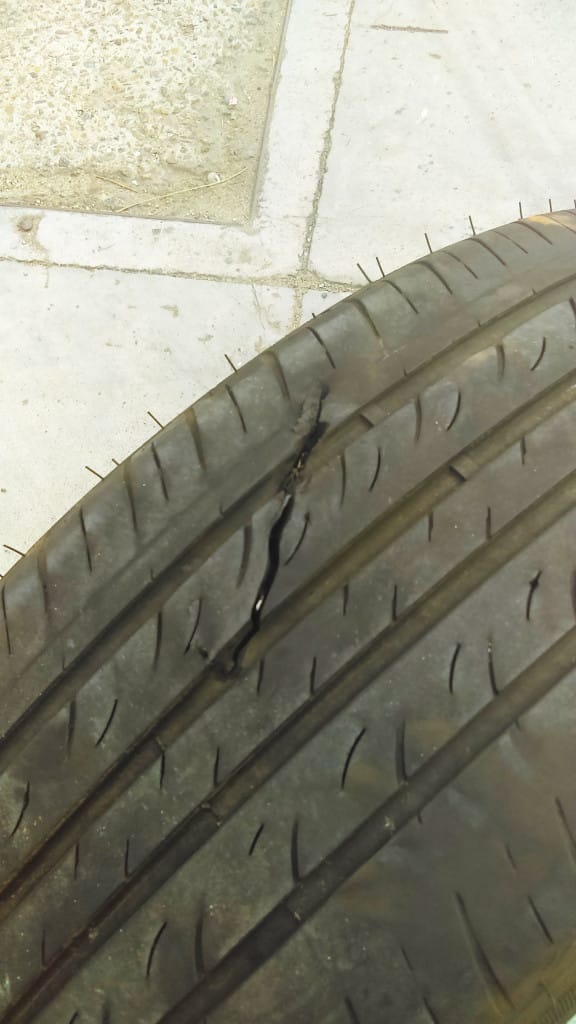
At some point in your life you’re going to need to have to change your tyre. Sure, if you’ve got road side assistance then more often than not you can call on them to help you out. But changing a tyre is pretty simple and something everyone should know how to do. I mean, imagine you’re out on the road, far far away from any kind of civilisation and your phones out of battery and you have no reception. Why not just crack on and fix it up yourself? It’ll be much faster than standing there twiddling your thumbs, and once you’ve done it the first time it’ll be much easier to do it a second time. I’m going to go through each step with you after I got a legit flat tyre just as I got into work. Of course thinking hey, this will make a great blog post!
Firstly… make sure that as soon as you start hearing a weird noise, or suspect that somethings happened to your tyre that you pull over somewhere safe. They always seem to happen in inconvenient places so try and find somewhere clear of passing traffic and on a flat surface. You should turn on the cars hazards (especially if there’s traffic around you) and ensure the car is in park (or first if it’s a manual) and hand break is on.
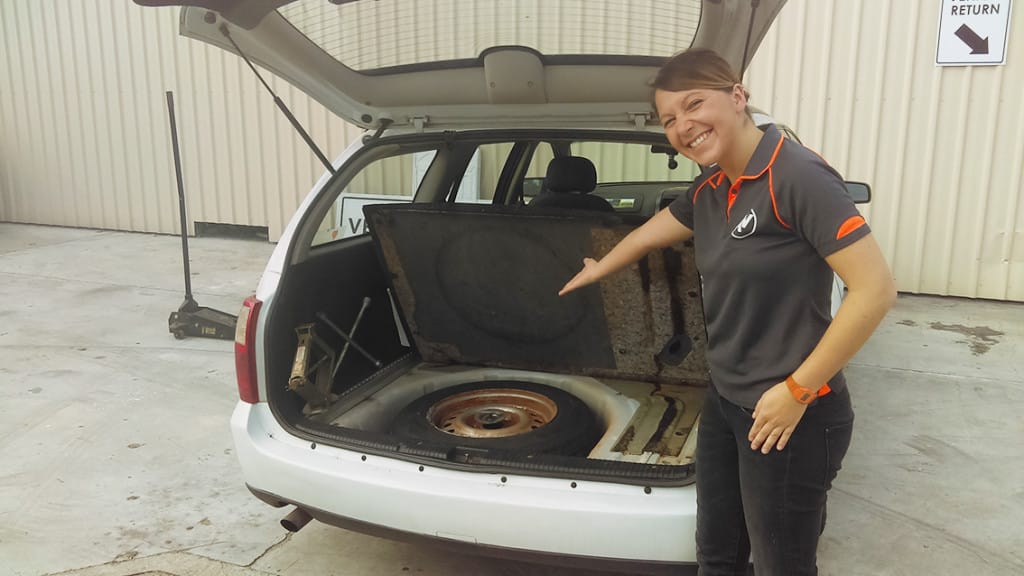
You should find the jack and wheel brace in one of the sides of the boot of the car. Check the vehicle manual to find the location of these as well as where the spare tyre is and where the jack needs to go. You can also take a look for small notches or grooves on the underside of your car – this is usually a good indicator of where the jack needs to be placed.
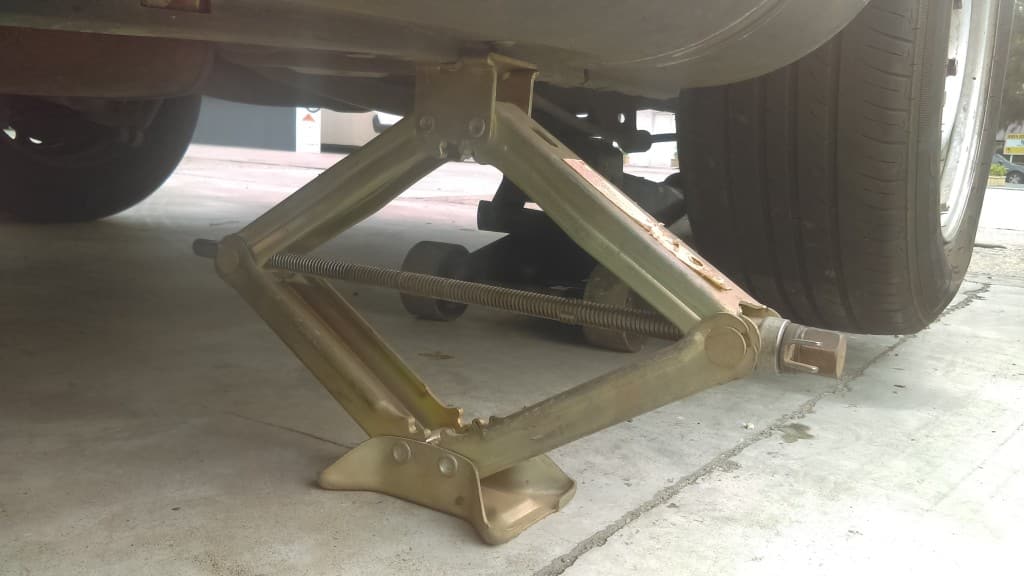
To stop the vehicle from rolling place items to block the wheels at the end of the car that isn’t being raised, such as bricks or a wooden wedge. The jack needs a hard surface underneath it, so if you’re on soft ground place something solid, like a brick, under the jack. Once the jacks in place, slowly turn the handle so that some of the weight of the car is removed from the tyre (but not all of it just yet).
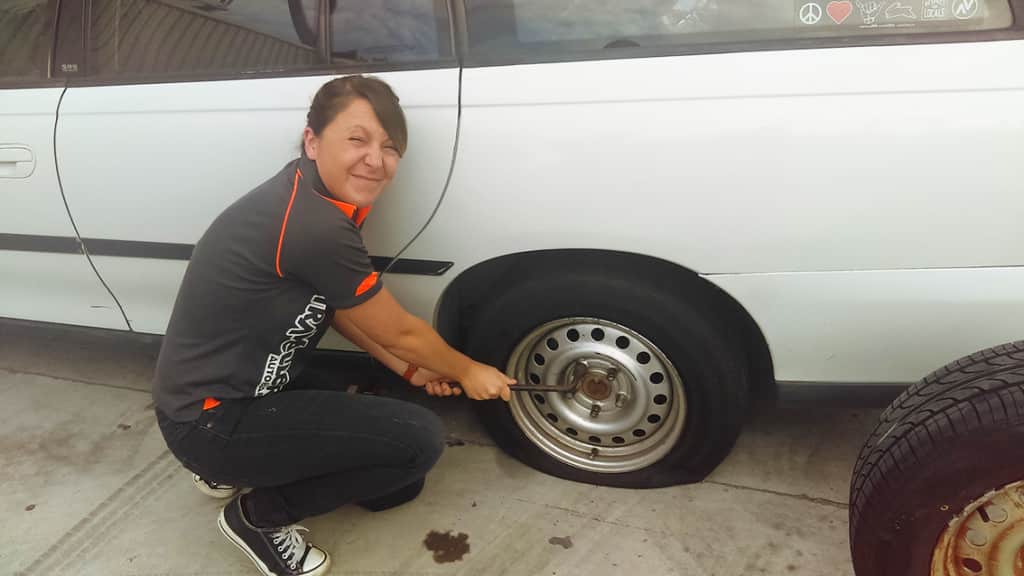
Loosening the wheel bolts is more about technique than strength. If there is a wheel cover you will need to remove it. You can pop it off with a screwdriver or a knife. Treat a bit like you would a can of paint. With a straight arm and straight back ‘crack’ each of the nuts in anti-clockwise direction.
All you are doing here is loosening them (not fully removing them), and this needs to be done in an alternating pattern (like a star).
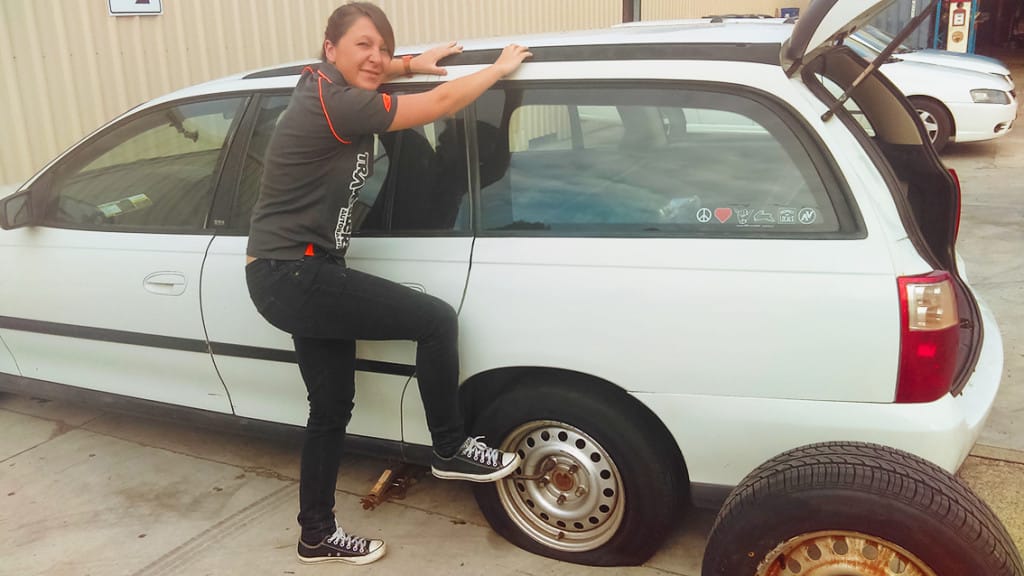
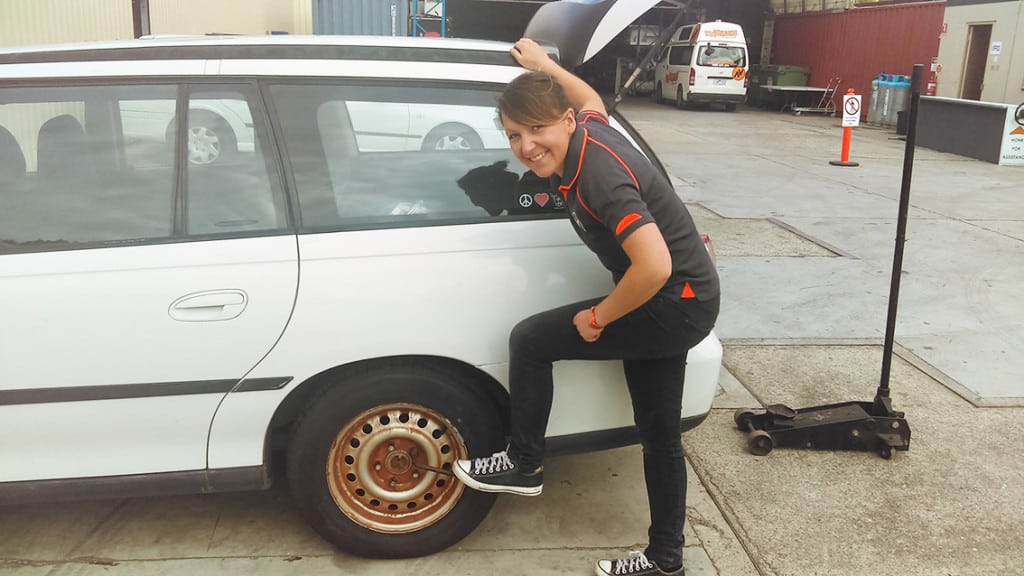
If you are having trouble ‘cracking’ the lugs like I did, hold onto the car and use your foot furthest from the car to press down on the wheel brace. Make sure your other foot is away from the car and not underneath it!
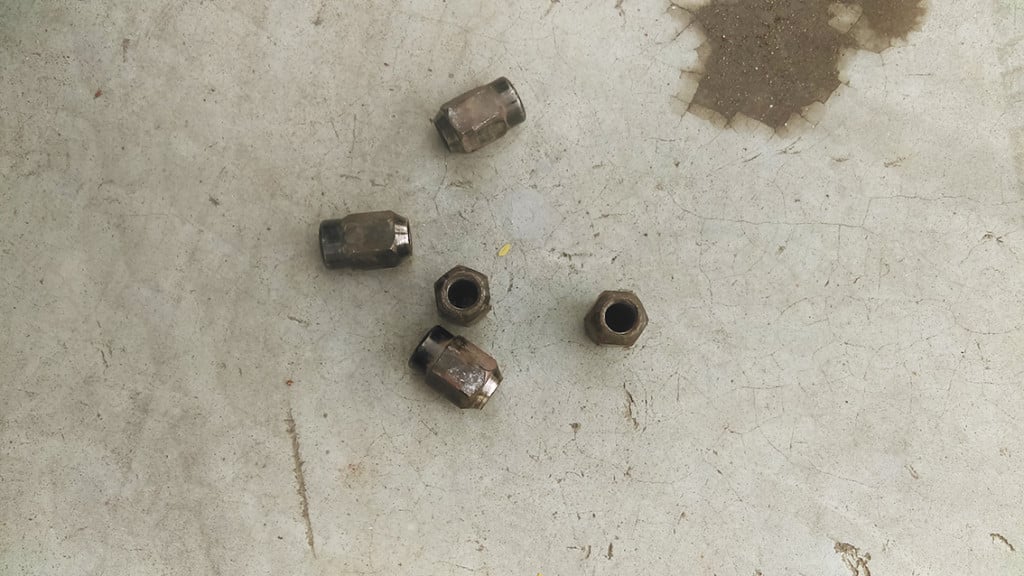
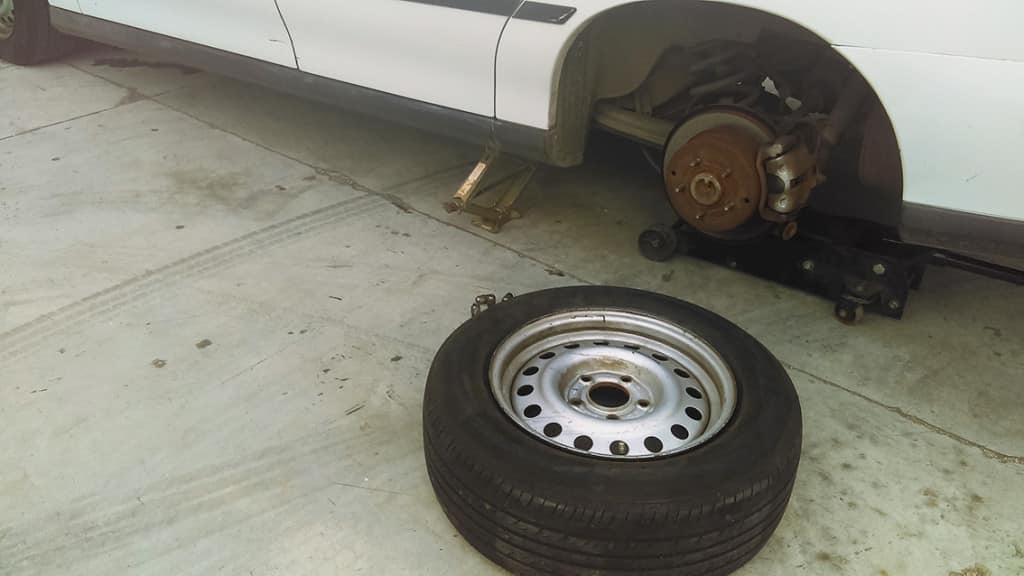
Once all the nuts are loosened, jack up the vehicle so that the tyre is just off the ground. Jack it up so that the tyre is around six inches off the ground. You don’t want to jack up the vehicle too high as this will make it more difficult to put the new tyre on.Once you’ve lifted the vehicle to the appropriate height you can start removing the lug nuts off the tyre. This can be done by hand and shouldn’t take very long as you’ve already loosened them. Make sure you put the lug nuts aside somewhere safe… you’re going to need them for the new tyre.
Now all lug nuts have been removed use both hands to remove and pull the tyre towards you. Pull it completely off until you are bearing all the weight of the tyre.
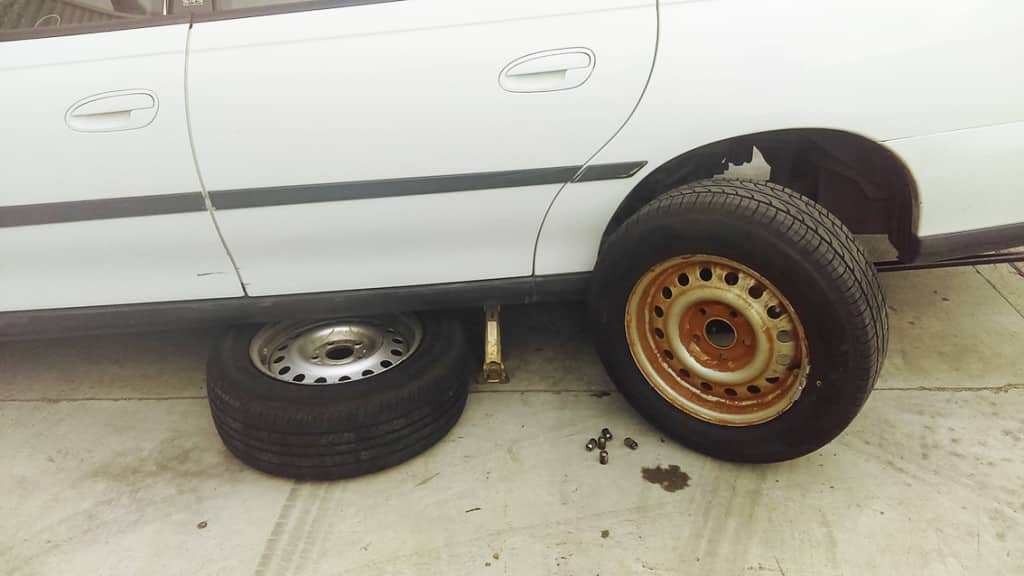
You can then place the flat tyre underneath the car next to the jack to support the car in the off chance that the jack slips out.
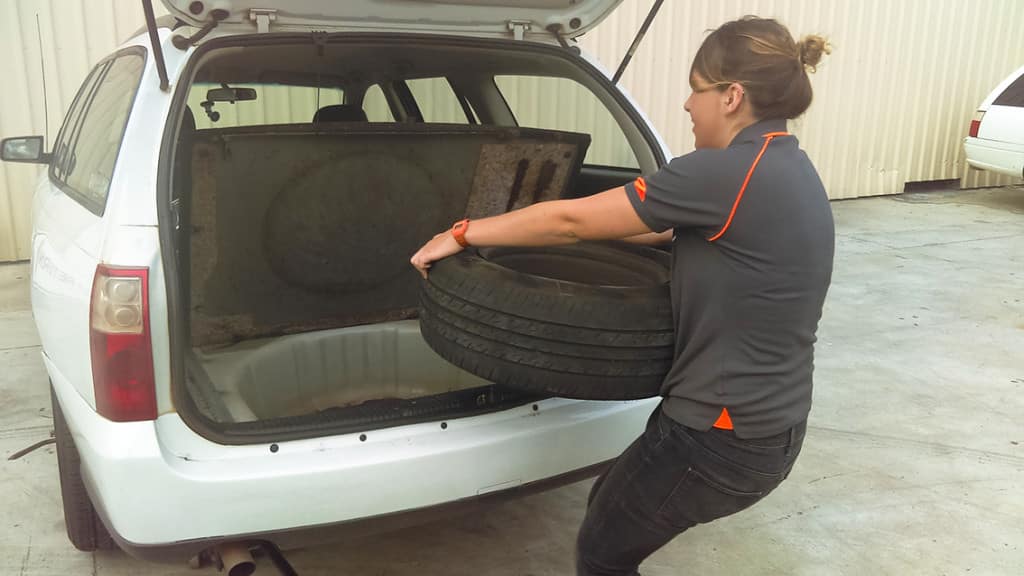
Now you can fit the new tyre. Tyres are quite heavy so make sure you lift with your back. Placing your left foot underneath the tyre can help support it as you slide it in place.
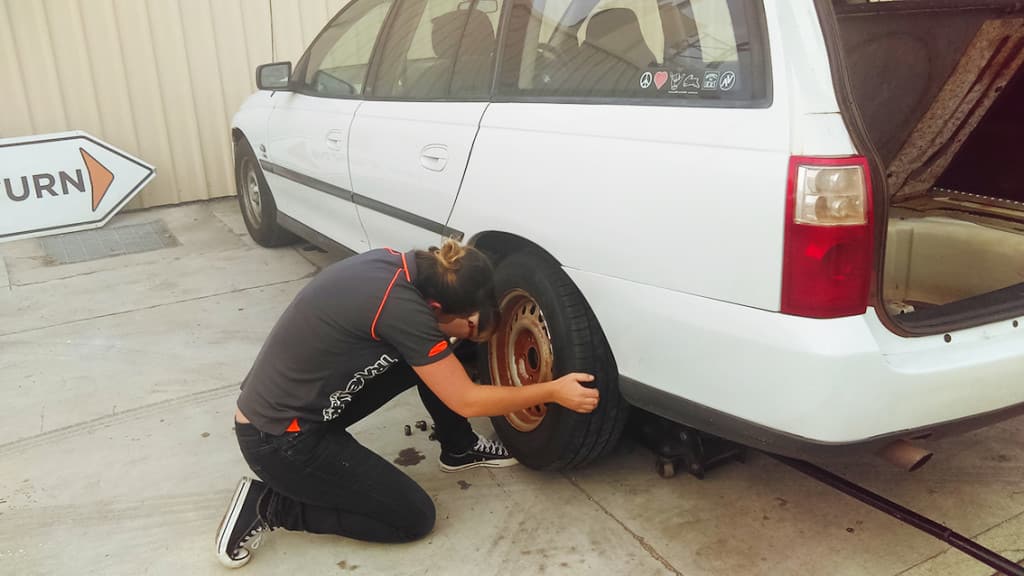
Slide that lovely rusty looking spare tyre right on (obviously hasn’t seen the light of day for a while)
Once the tyre is on put the lug nuts back on and tighten them by hand. You can give them all a little jolt with a wrench but wait until the car is completely back on the ground before you properly tighten them.Remove the flat tyre from under the car and start bringing down the car by pulling the lever of the jack in an anti-clockwise direction. Once the car is completely lowered you can start tightening the lug bolts with the wrench.
It’s really important that you tighten them by following the star pattern (see diagram above). This is to ensure that the wheel is fixed on straight. Once all the bolt lugs are tightened you can pop the flat tyre where the spare one used to be. You can fit the wheel cover back on if you had one too. Get it into the right place and tap it firmly in with the bottom palm of your hand.
Place the jack and wrench back where you found them and hey presto you’re good to go. It’s really important that you go and get a new spare tyre for your car as soon as possible cos you never know when the next flat might happen!
For all campervan or car hire click here, and sales enquiries click here, or give us a call on 1800 674 374.
Check out this video we have made which also explains how to change a tyre on a vehicle:
We’ve got many more Buying and Selling Campervan and Car articles for you, come and explore.
About the Author
Bastian Graf
Bastian is the Sales & Marketing Manager here at Travellers Autobarn. He holds a Master of Commerce in Marketing and International Business Management, and 20+ years experience in campervan hire, road trips and travel.
